

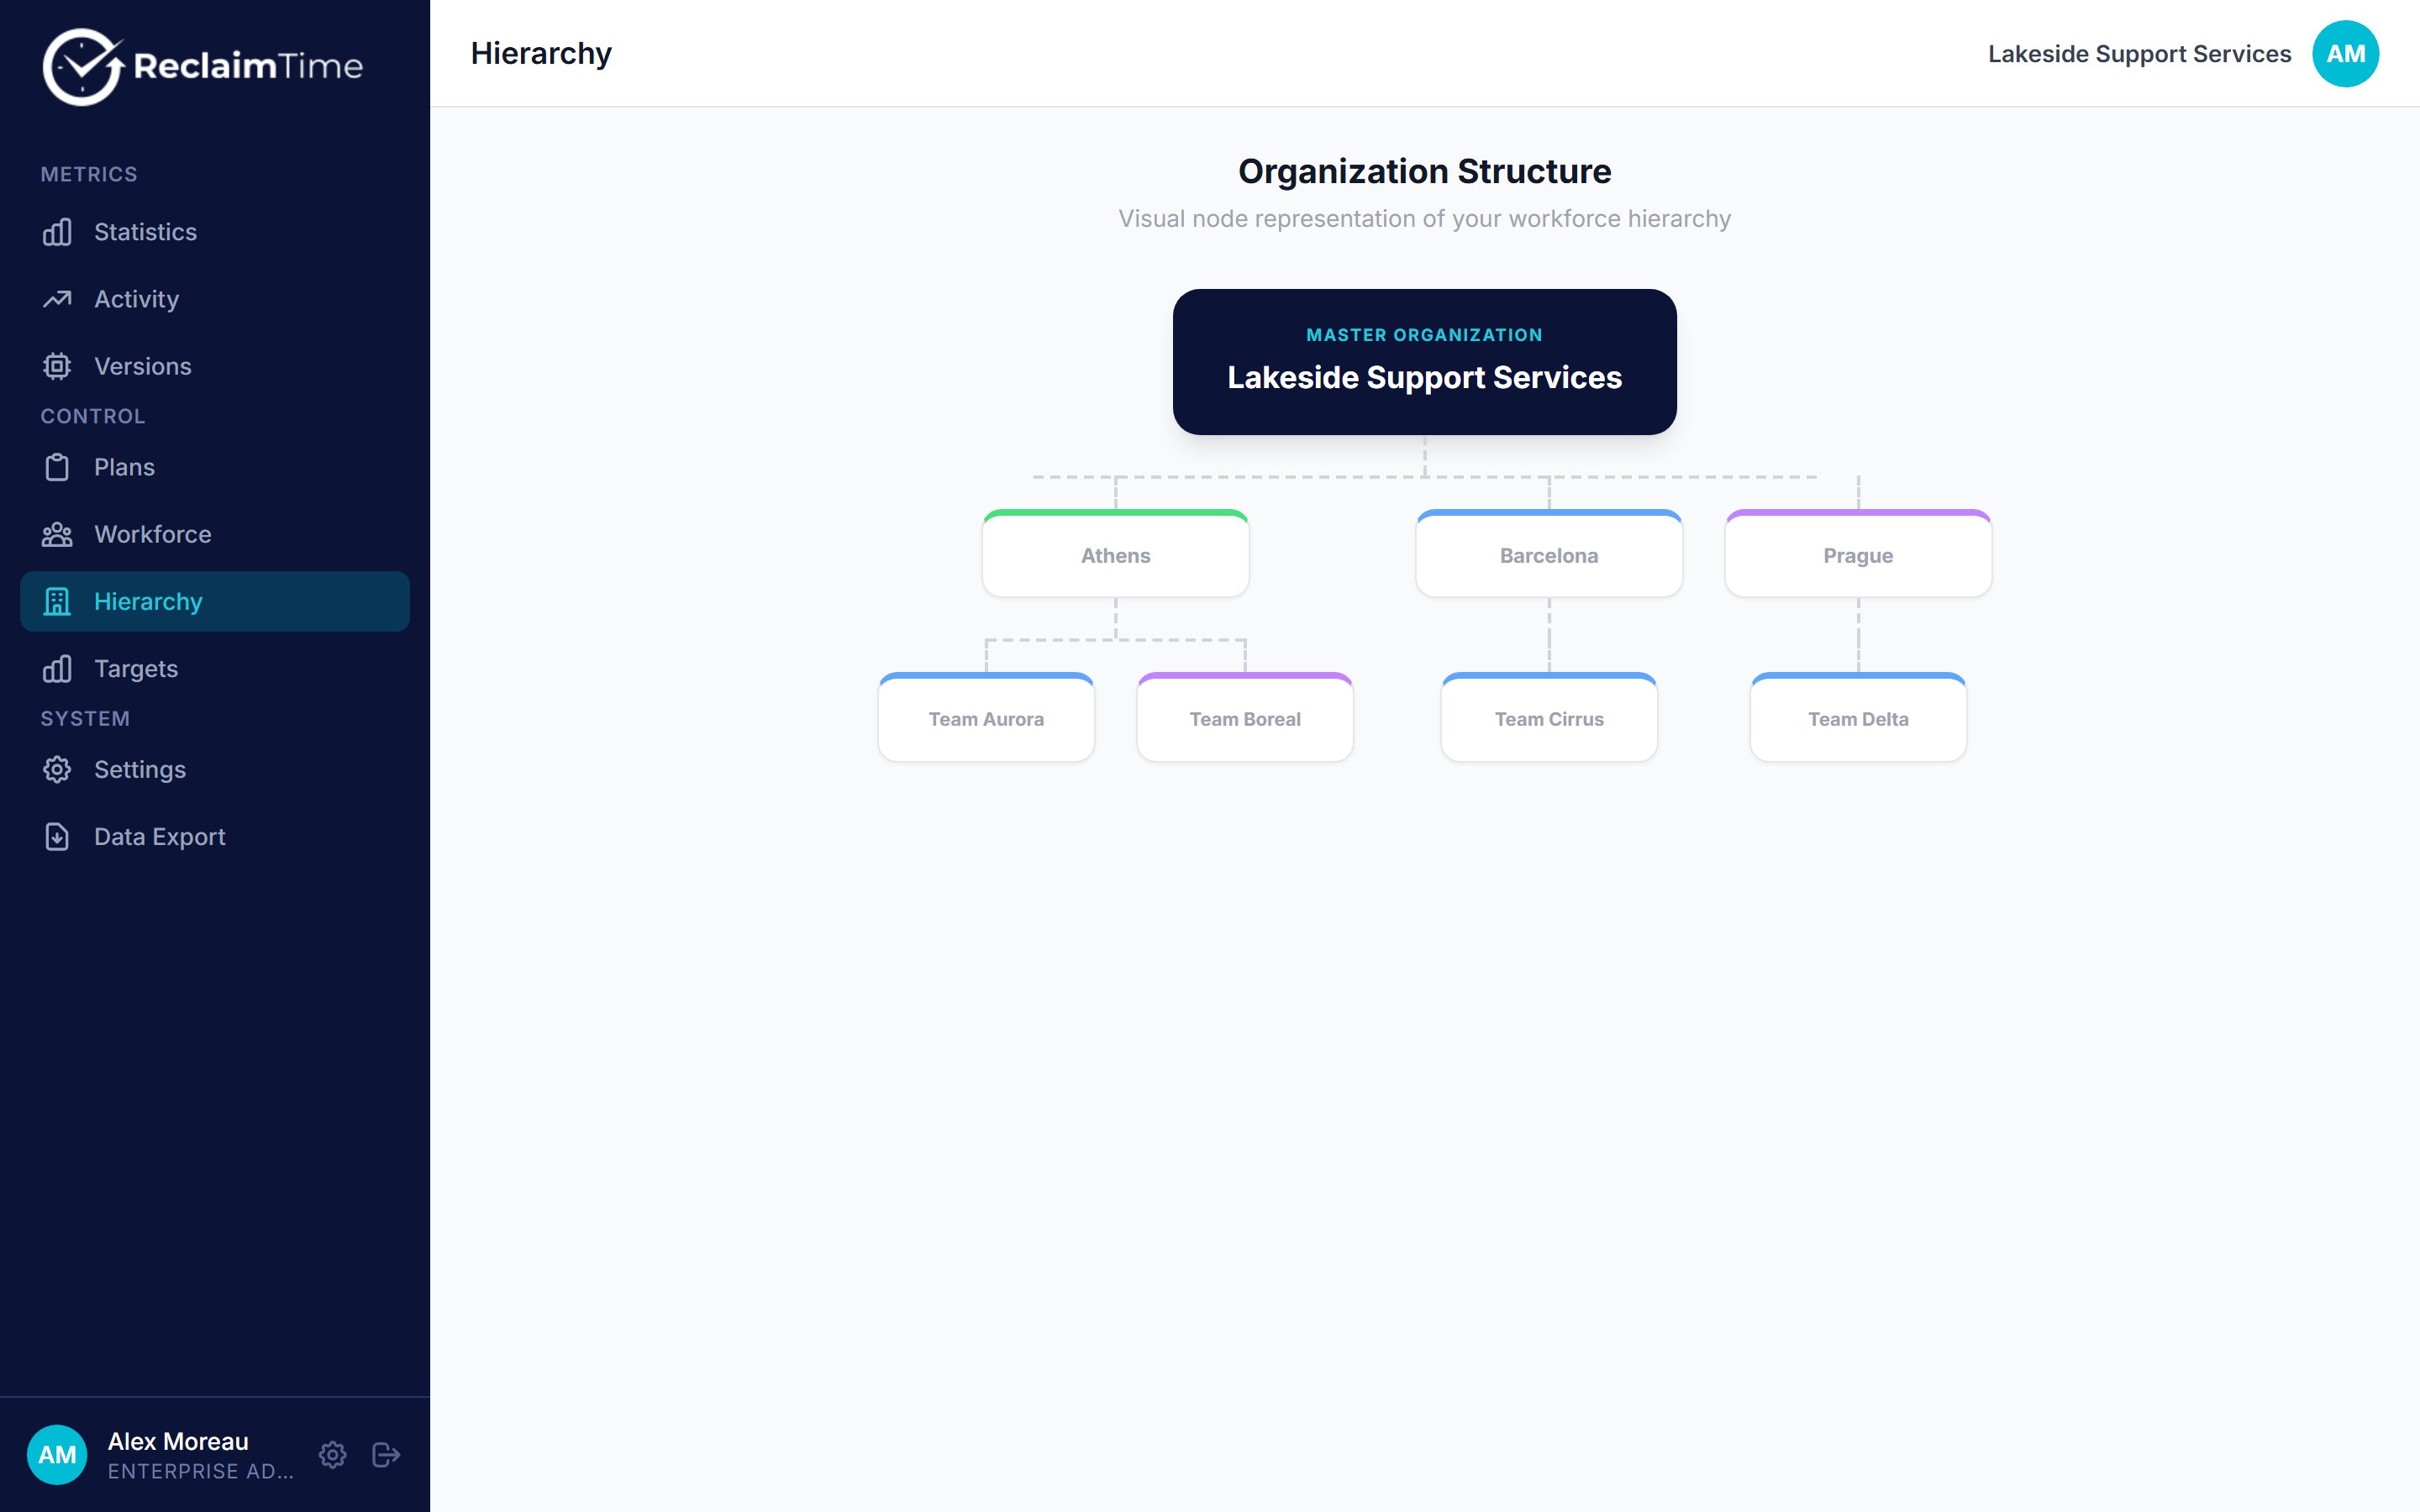
The Hierarchy page, the same groups as an organisation chart
Creating a group
Click a group in the tree first, then + New Group. The one you clicked becomes the parent, and there is a dropdown on the form to change it. Click the organisation at the top of the tree to create a top-level group. A group has a name and a description. Both are worth filling in.The description shows in brackets after the group name throughout the dashboard, so it is a good place for the supervisor’s name. A tree that reads Team Aurora (Tier 1 support, Dana Whitfield) answers “who runs this team” without anyone having to ask.
Editing and moving
Select a group in the tree and its panel opens on the right, with Edit Group and Delete Group.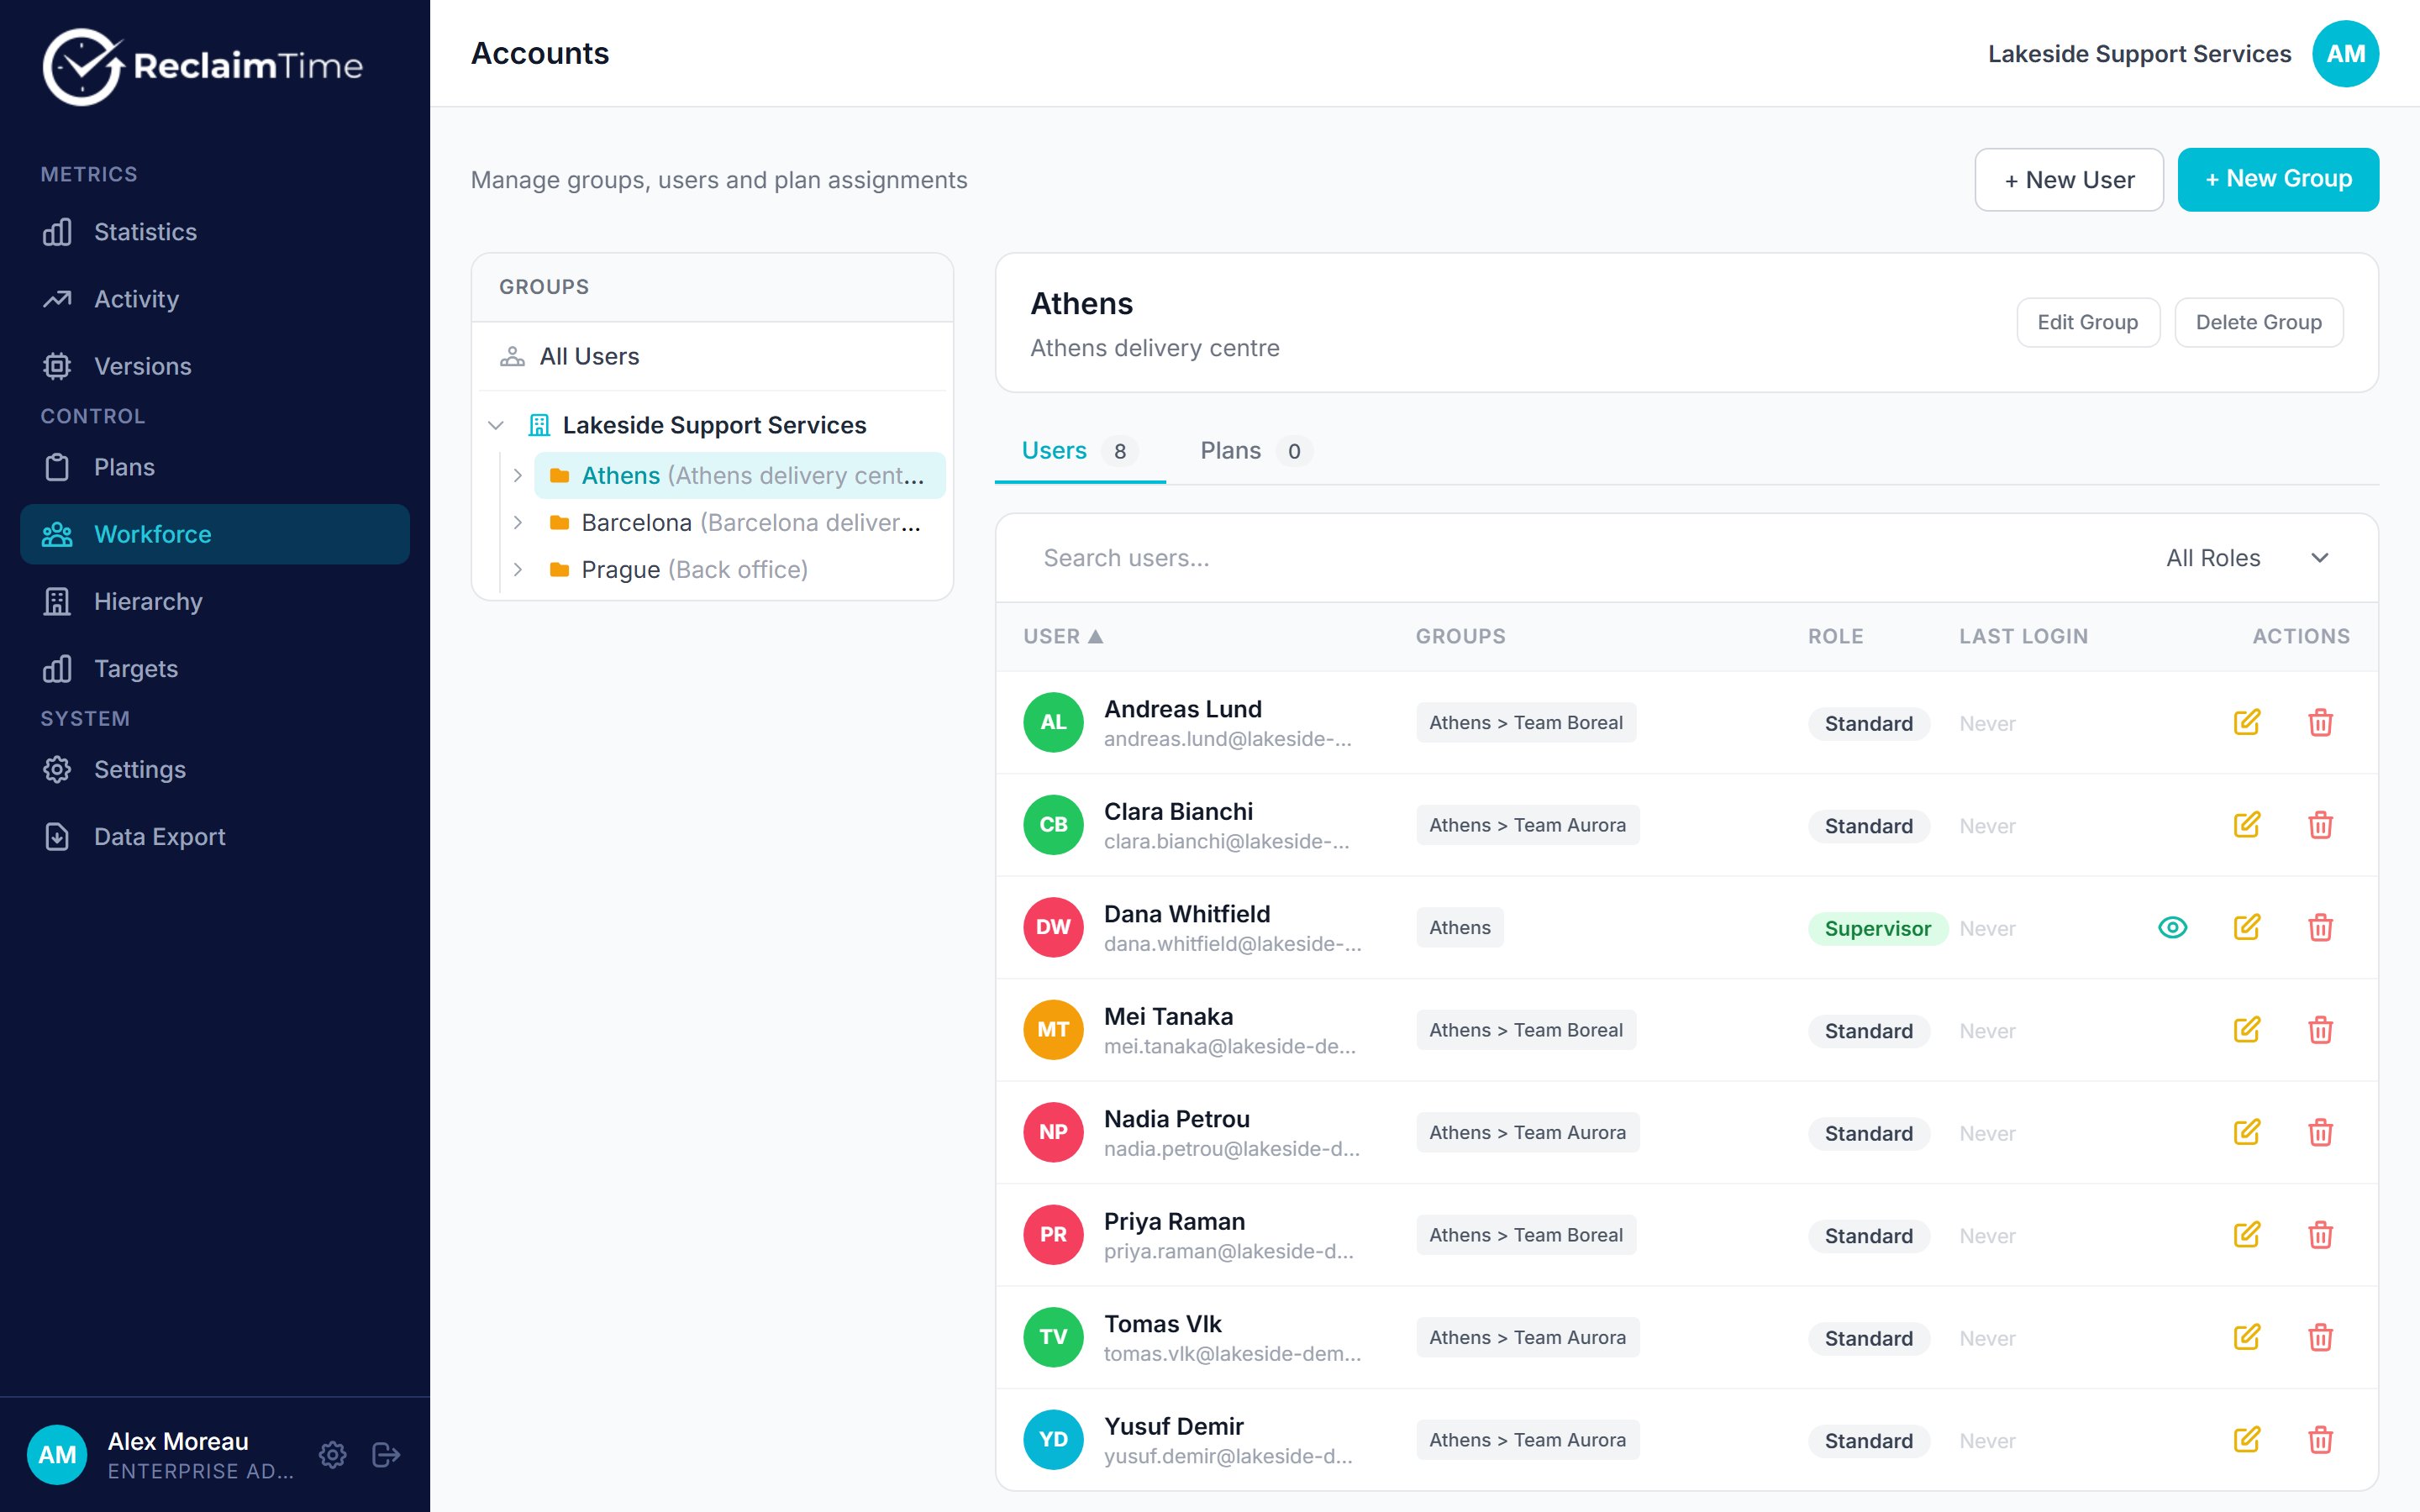
A group selected in the tree, with its users and plans
Deleting
Delete Group removes the group. Move the people out first, and be aware that any supervisor scoped to it will see nothing afterwards until you reassign them.Assigning a plan
The Plans tab on the group panel assigns a blocking plan to the group. The desktop client asks for the plans that apply to its user’s groups and enforces them. Blocking is optional and separate from tracking. Most organisations use ReclaimTime for tracking alone and never assign a plan. See Plans for groups.How groups reach the data
When the client uploads a session it stamps the person’s groups onto the row. This is why:- Moving somebody between teams changes their new activity, not their old activity. Their history stays with the team they were in at the time, which is usually what you want for a report.
- Anonymised rows, the ones for non-work sites, carry the group but no name. That is what makes team-level totals possible without attributing personal browsing to anyone.
Related tasks
Checked against ReclaimTime client 8.0.0.9 and dashboard V3 on 5 September 2026.